How to repair the ski base
A small stone on the slope is enough to leave an unsightly scratch or a hole in the ski base. If damage to the base is not repaired quickly, this can permanently damage the ski or board. In addition, scratches or holes in the base have a negative impact on the gliding characteristics on the slope. It is therefore particularly important to repair the ski base in a timely manner.
It all comes down to the right preparation
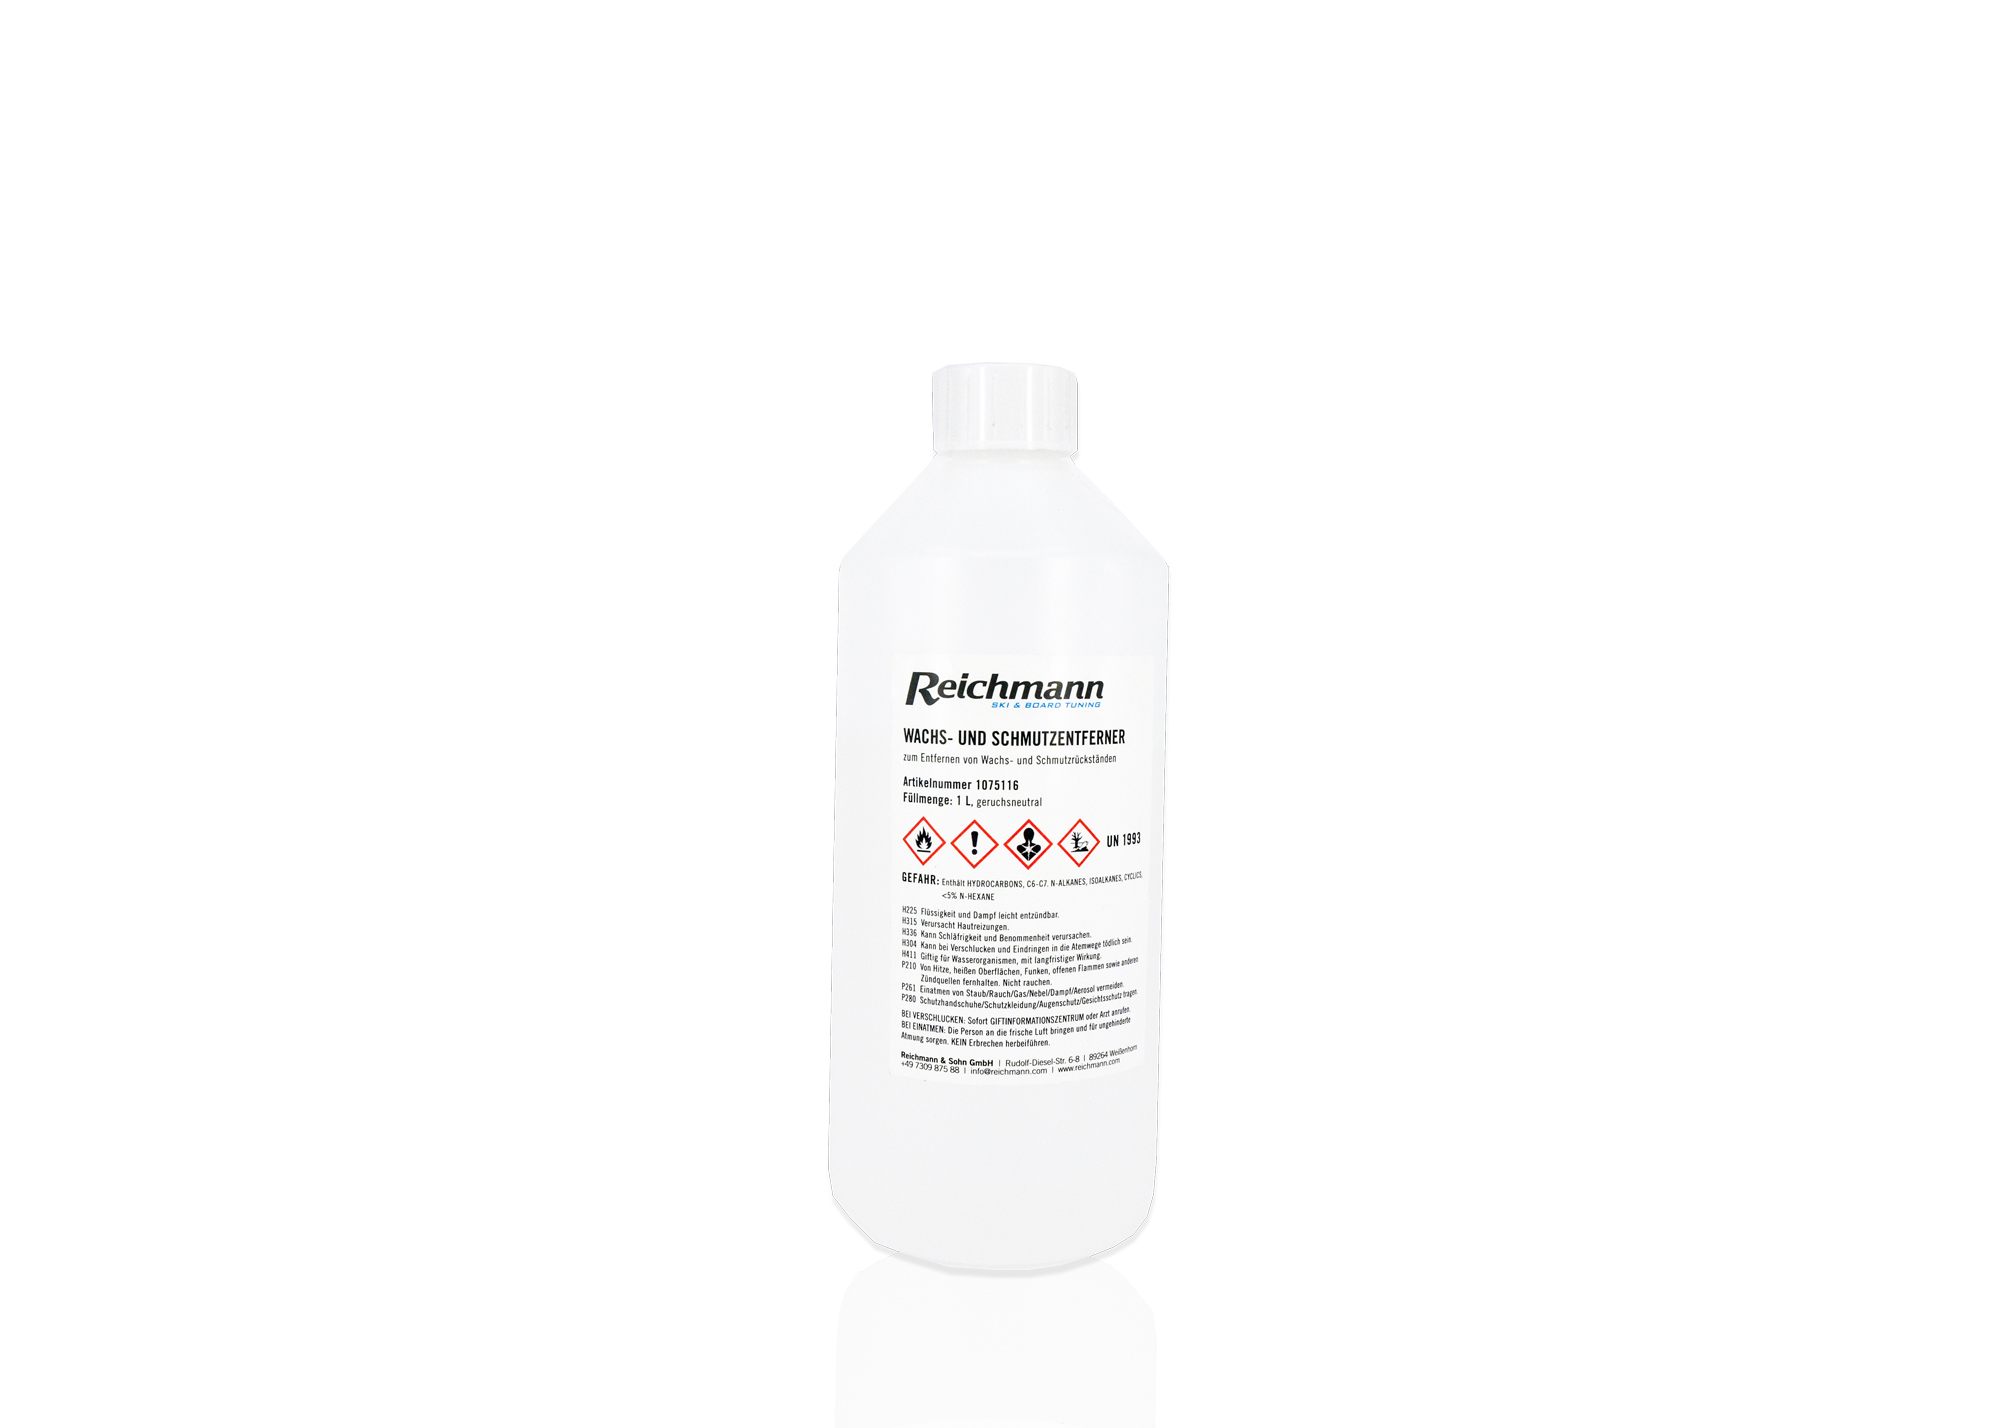
Proper preparation is the basic requirement for a successful base repair. First of all, the surface should be cleaned. We recommend pre-grinding the ski or board on a belt grinding machine. This removes dirt and rust and roughens the base. As a result, subsequent repair material holds much better. In addition, small scratches or grooves in the base can sometimes be eliminated during pre-grinding on the belt grinder. After the pre-grinding, you should free the base and especially the remaining damage, holes or scratches from any remaining dirt, wax or grease. For this we recommend the Reichmann wax remover. Standard wax removers partially grease and are therefore unsuitable for this. For the subsequent repair, the area should be dry, clean and free of grease.
Primer for large holes or damage in the edge area
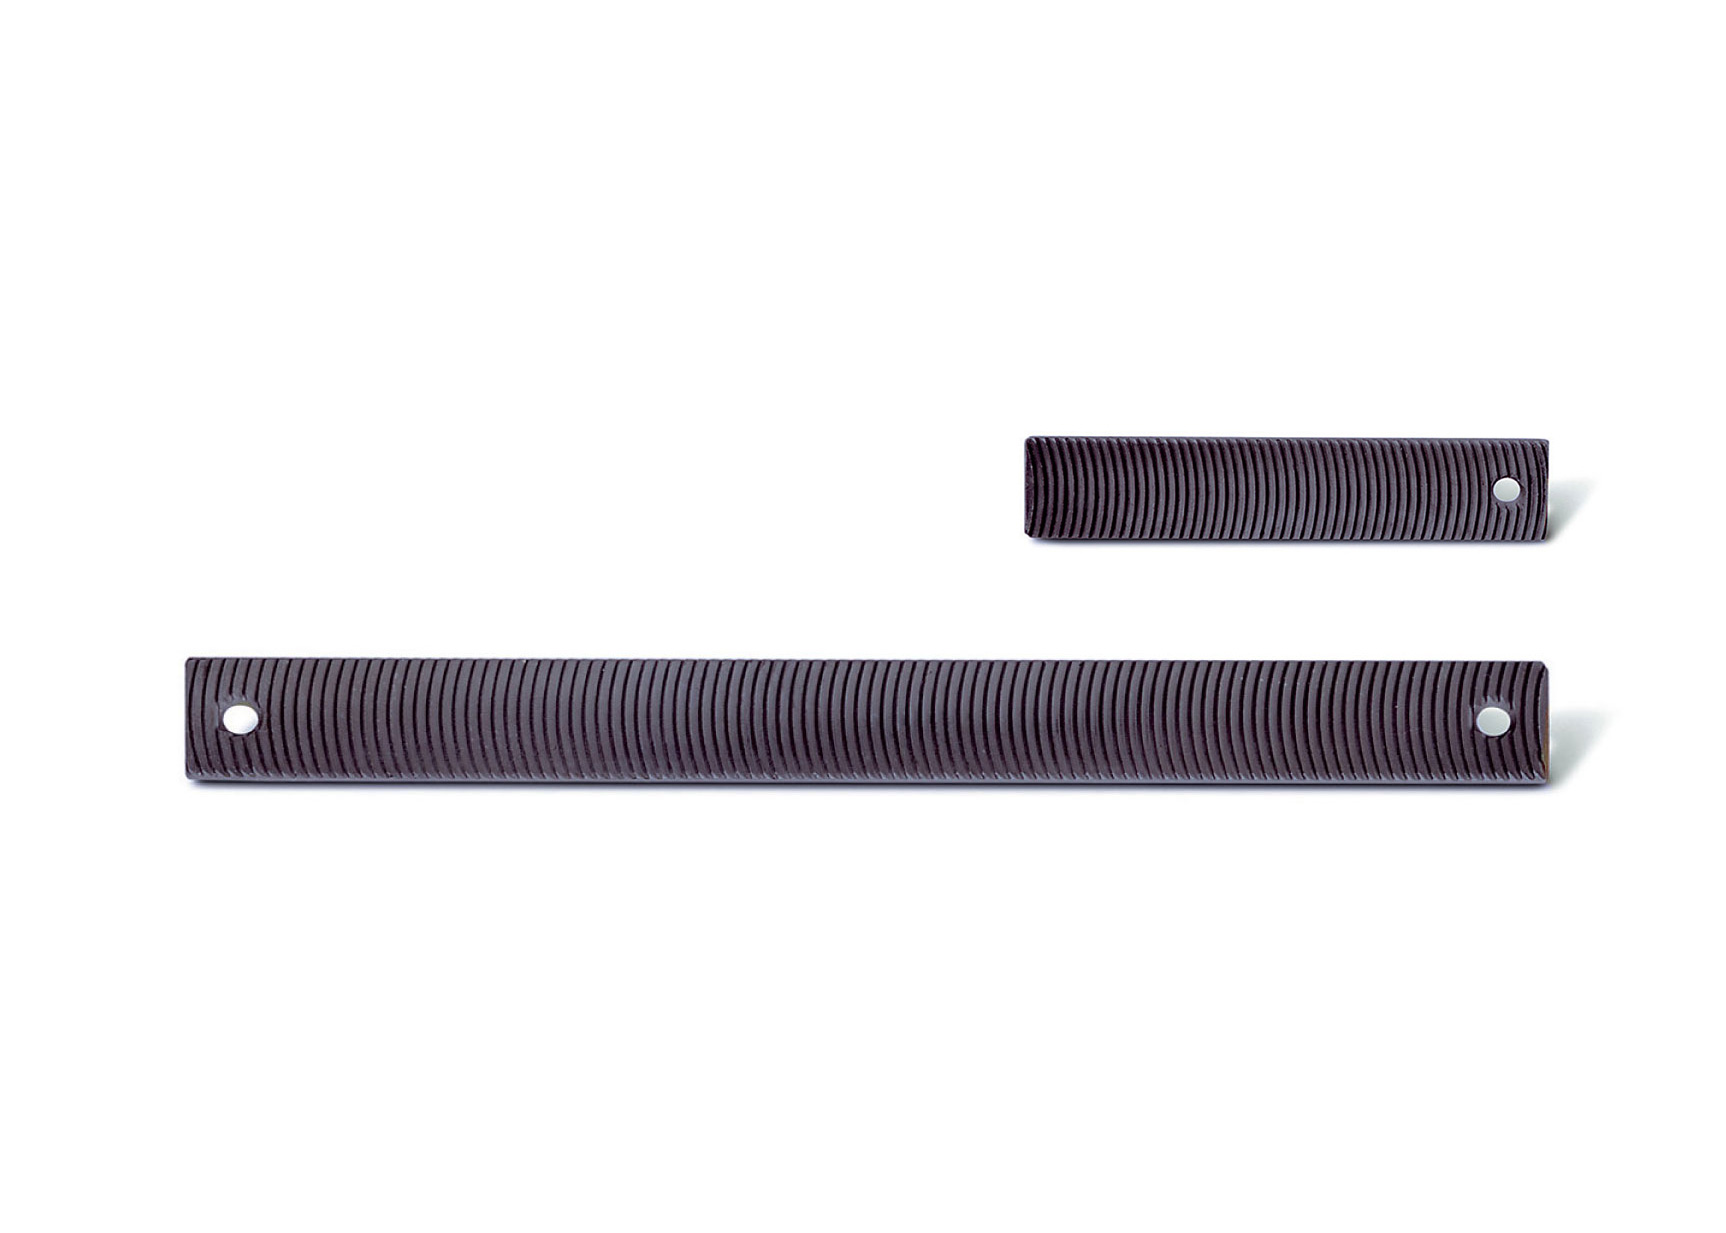
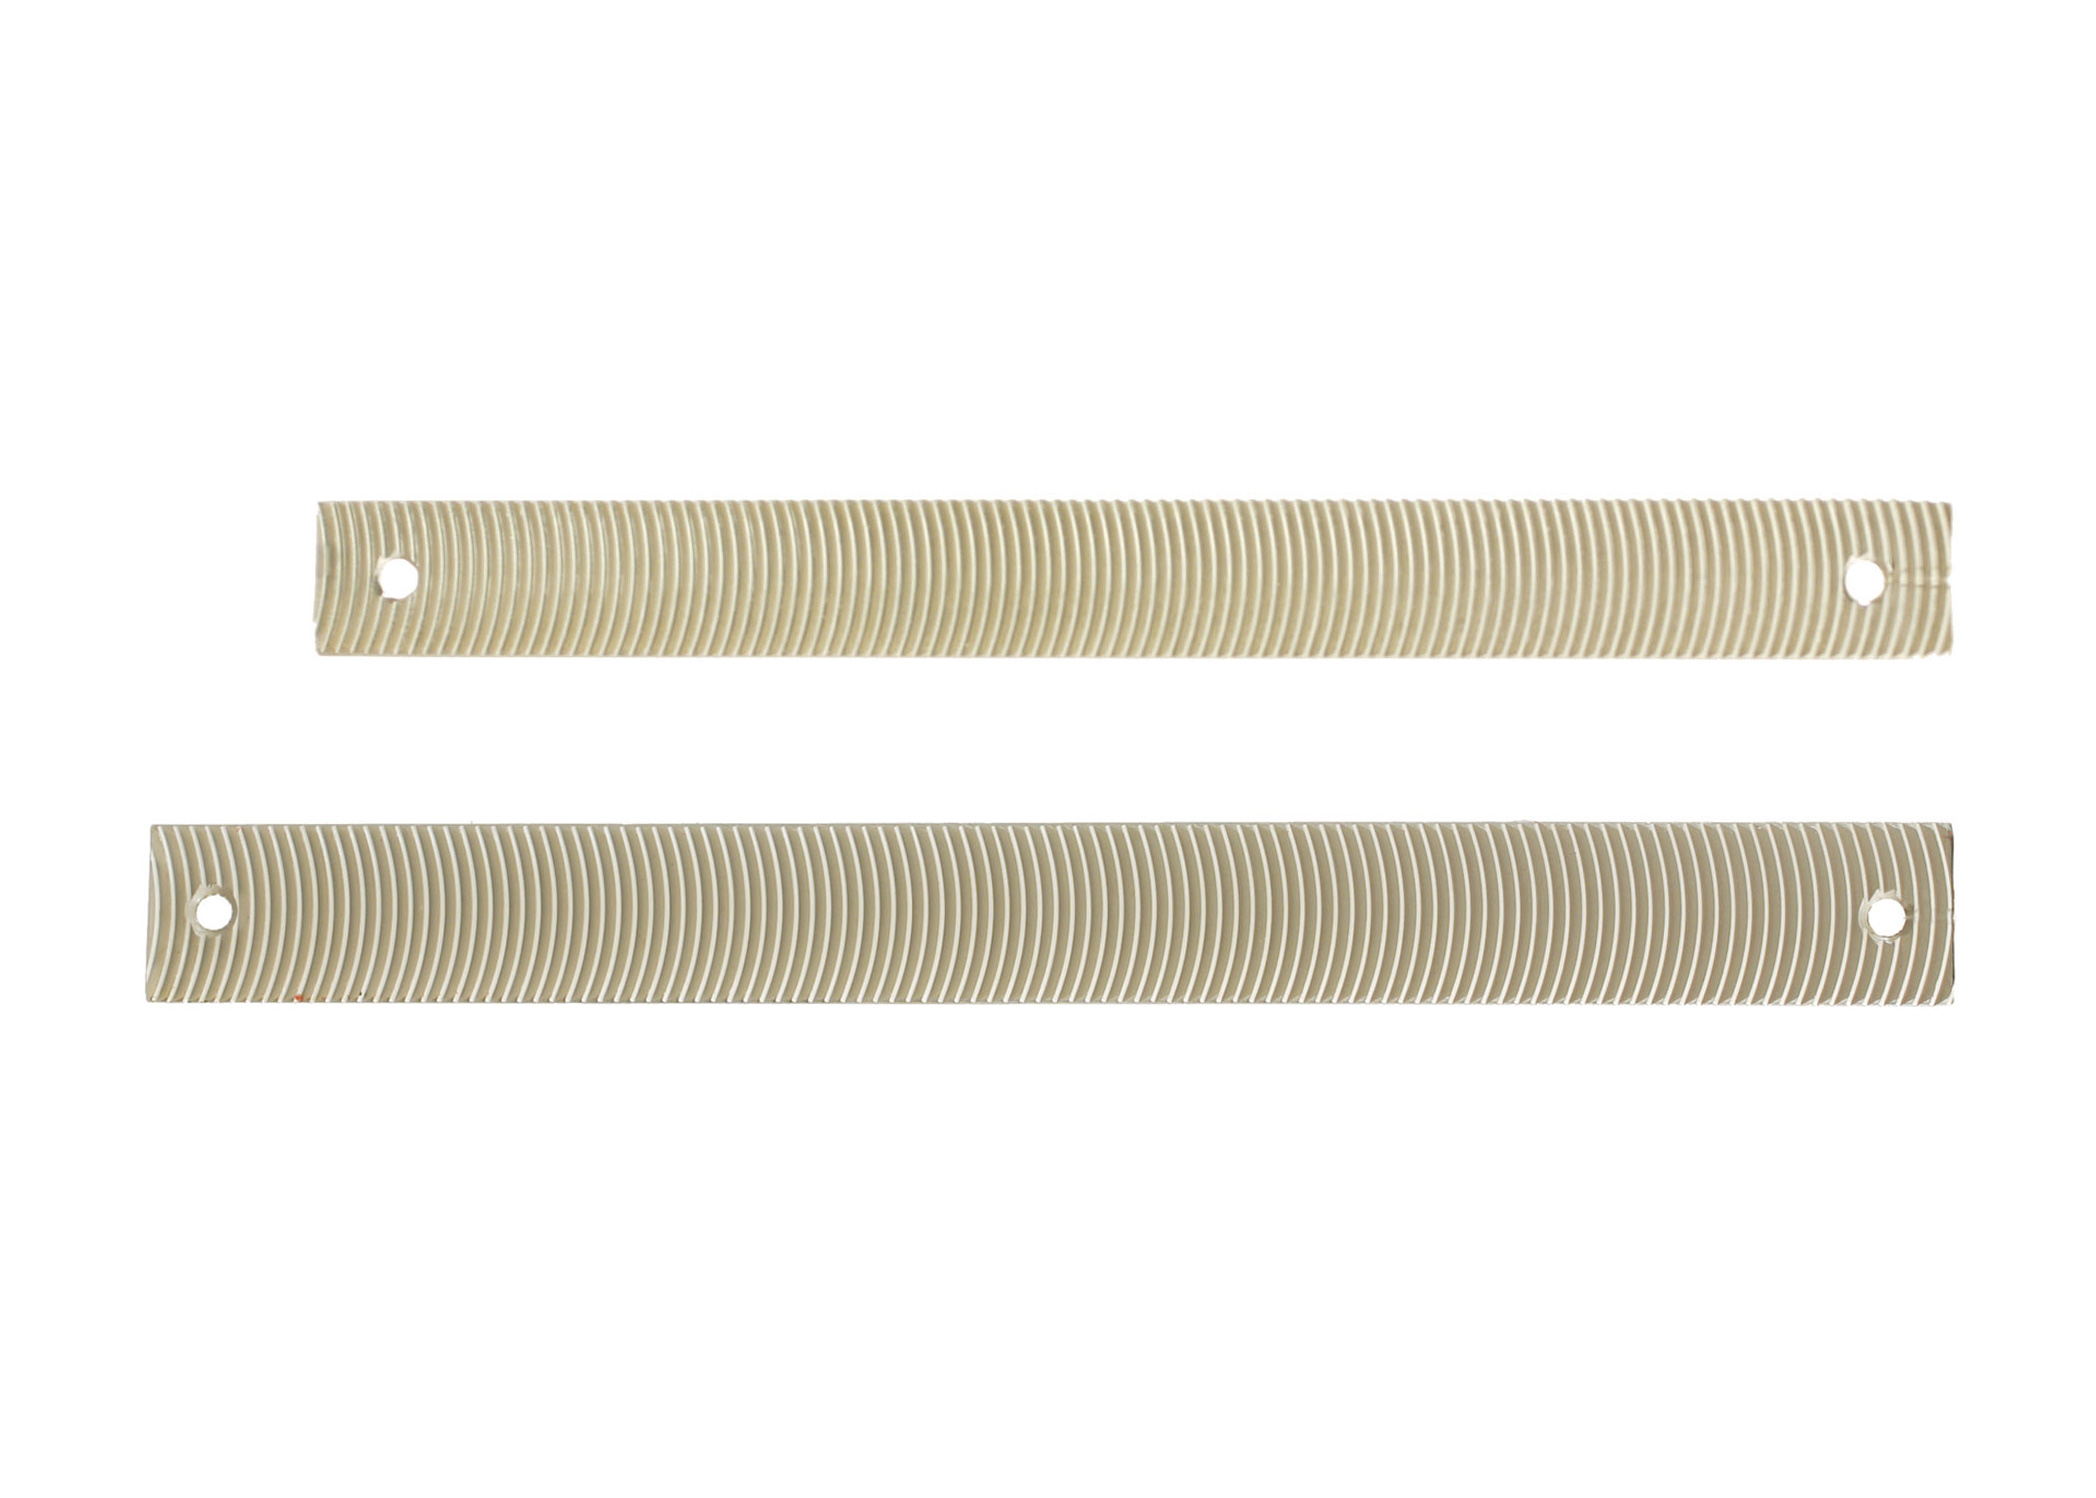
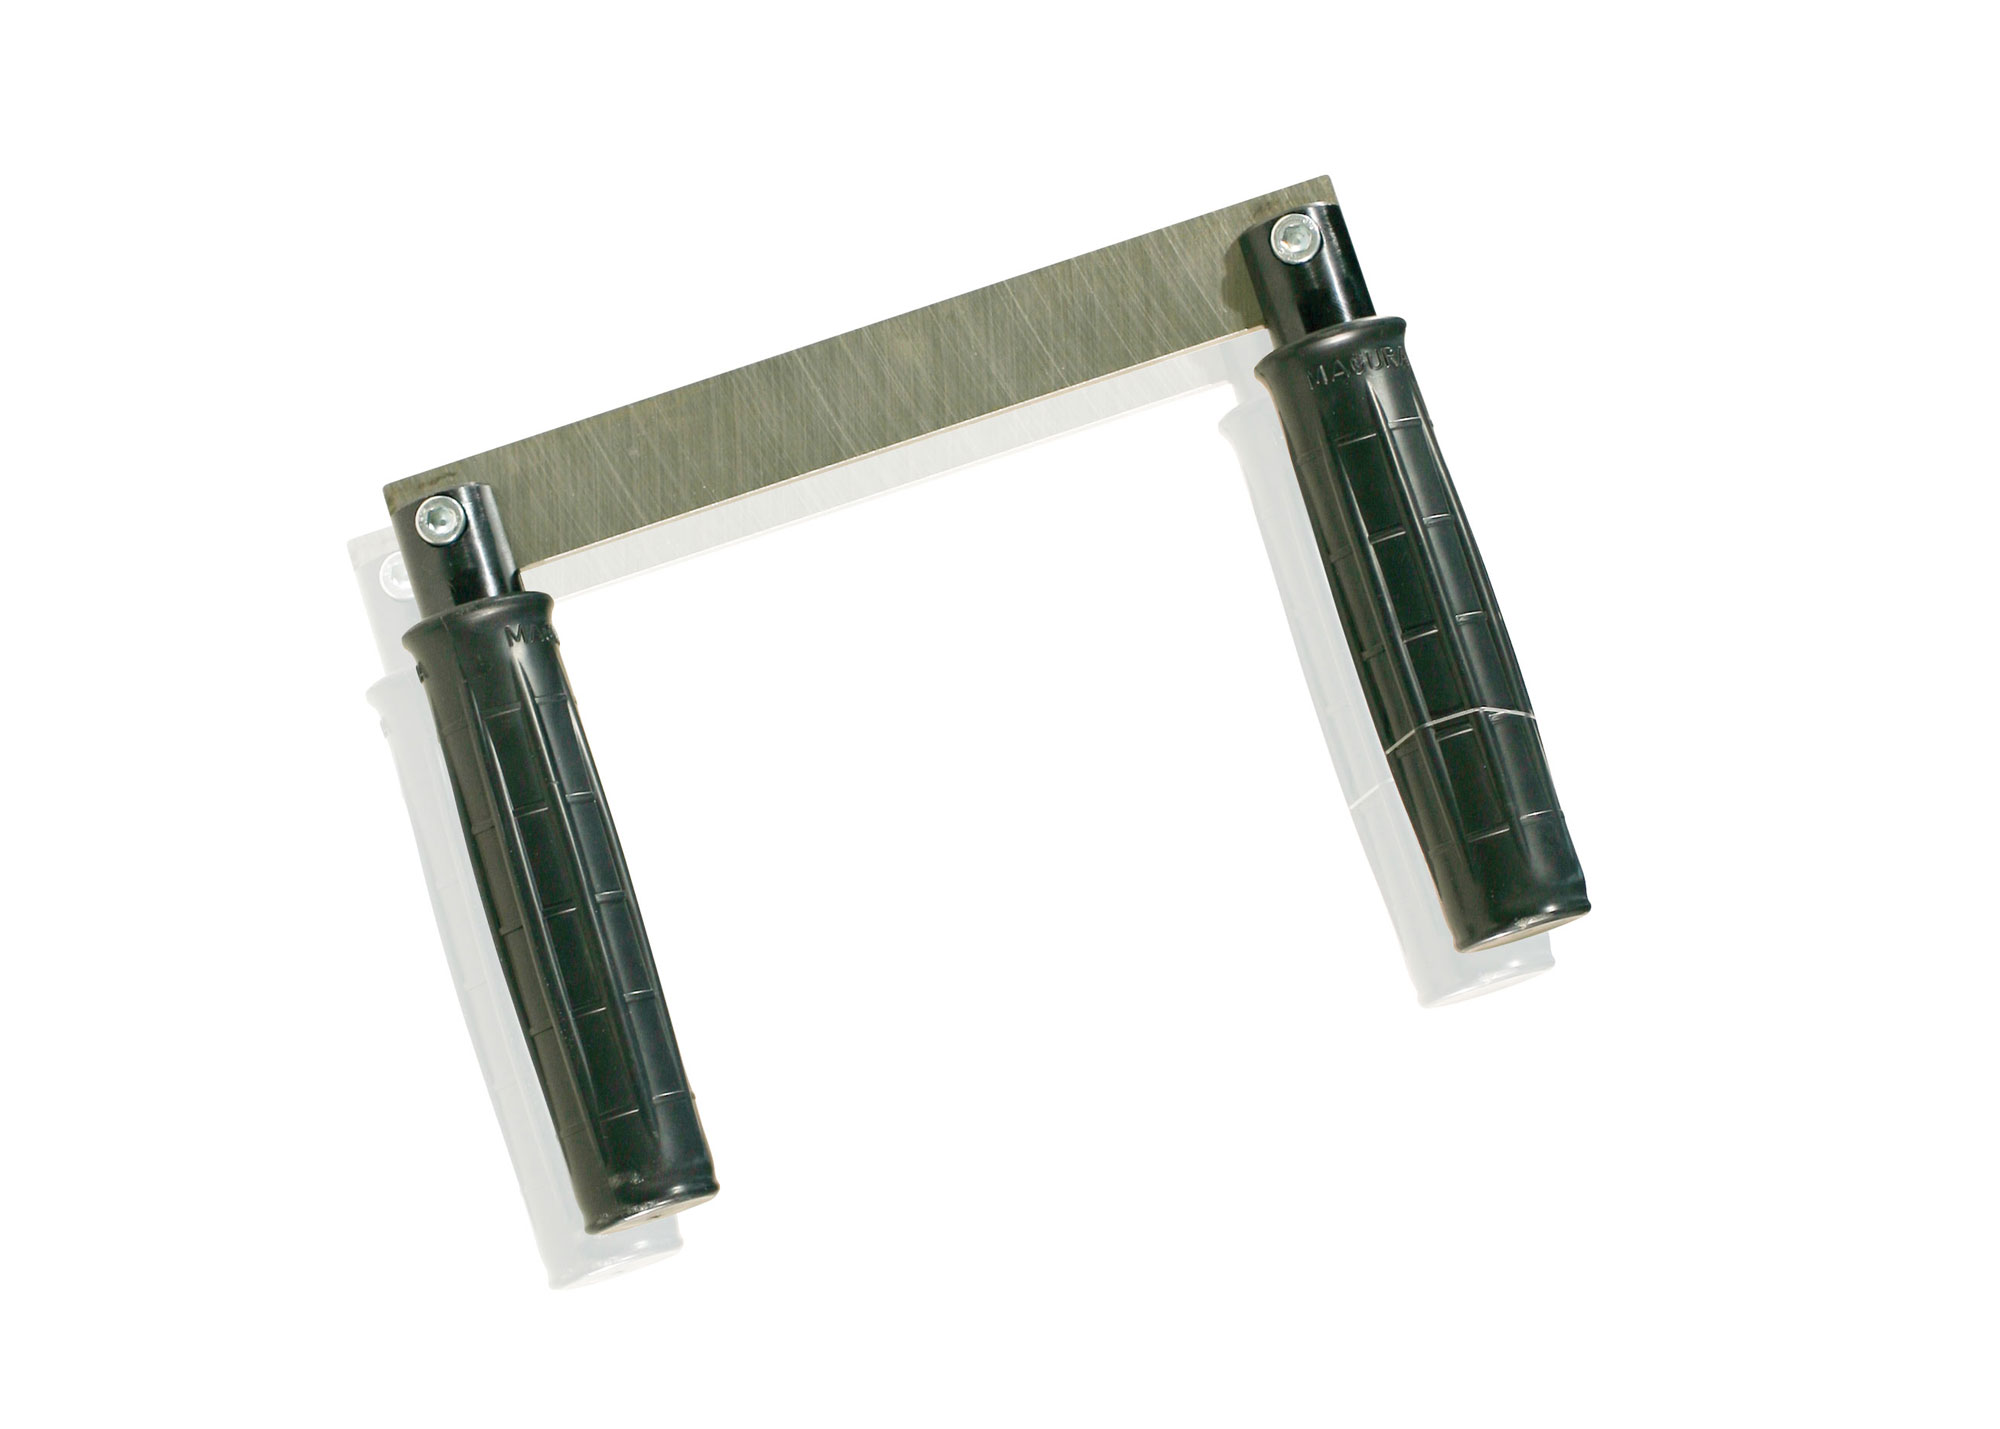
Coarse and particularly deep damage to the base down to the body of the ski and cracks on the edges require special treatment. First prime this damage with the special repair material METAL GRIP. Part of this material is an adhesive that sticks to all ski construction materials. The adhesive content in the Metal Grip creates a permanent connection with the ski base and thus ensures a long-lasting base repair. Briefly preheat the base with a gas burner so that the priming material then adheres better to the base and then apply the special repair material as thinly and evenly as possible. Thanks to its compact design, the Powerspot gas burner is ideally suited for this. Let the material cool down and harden briefly and then remove any protruding edges with a body file or a surface planer.
Application of the repair material
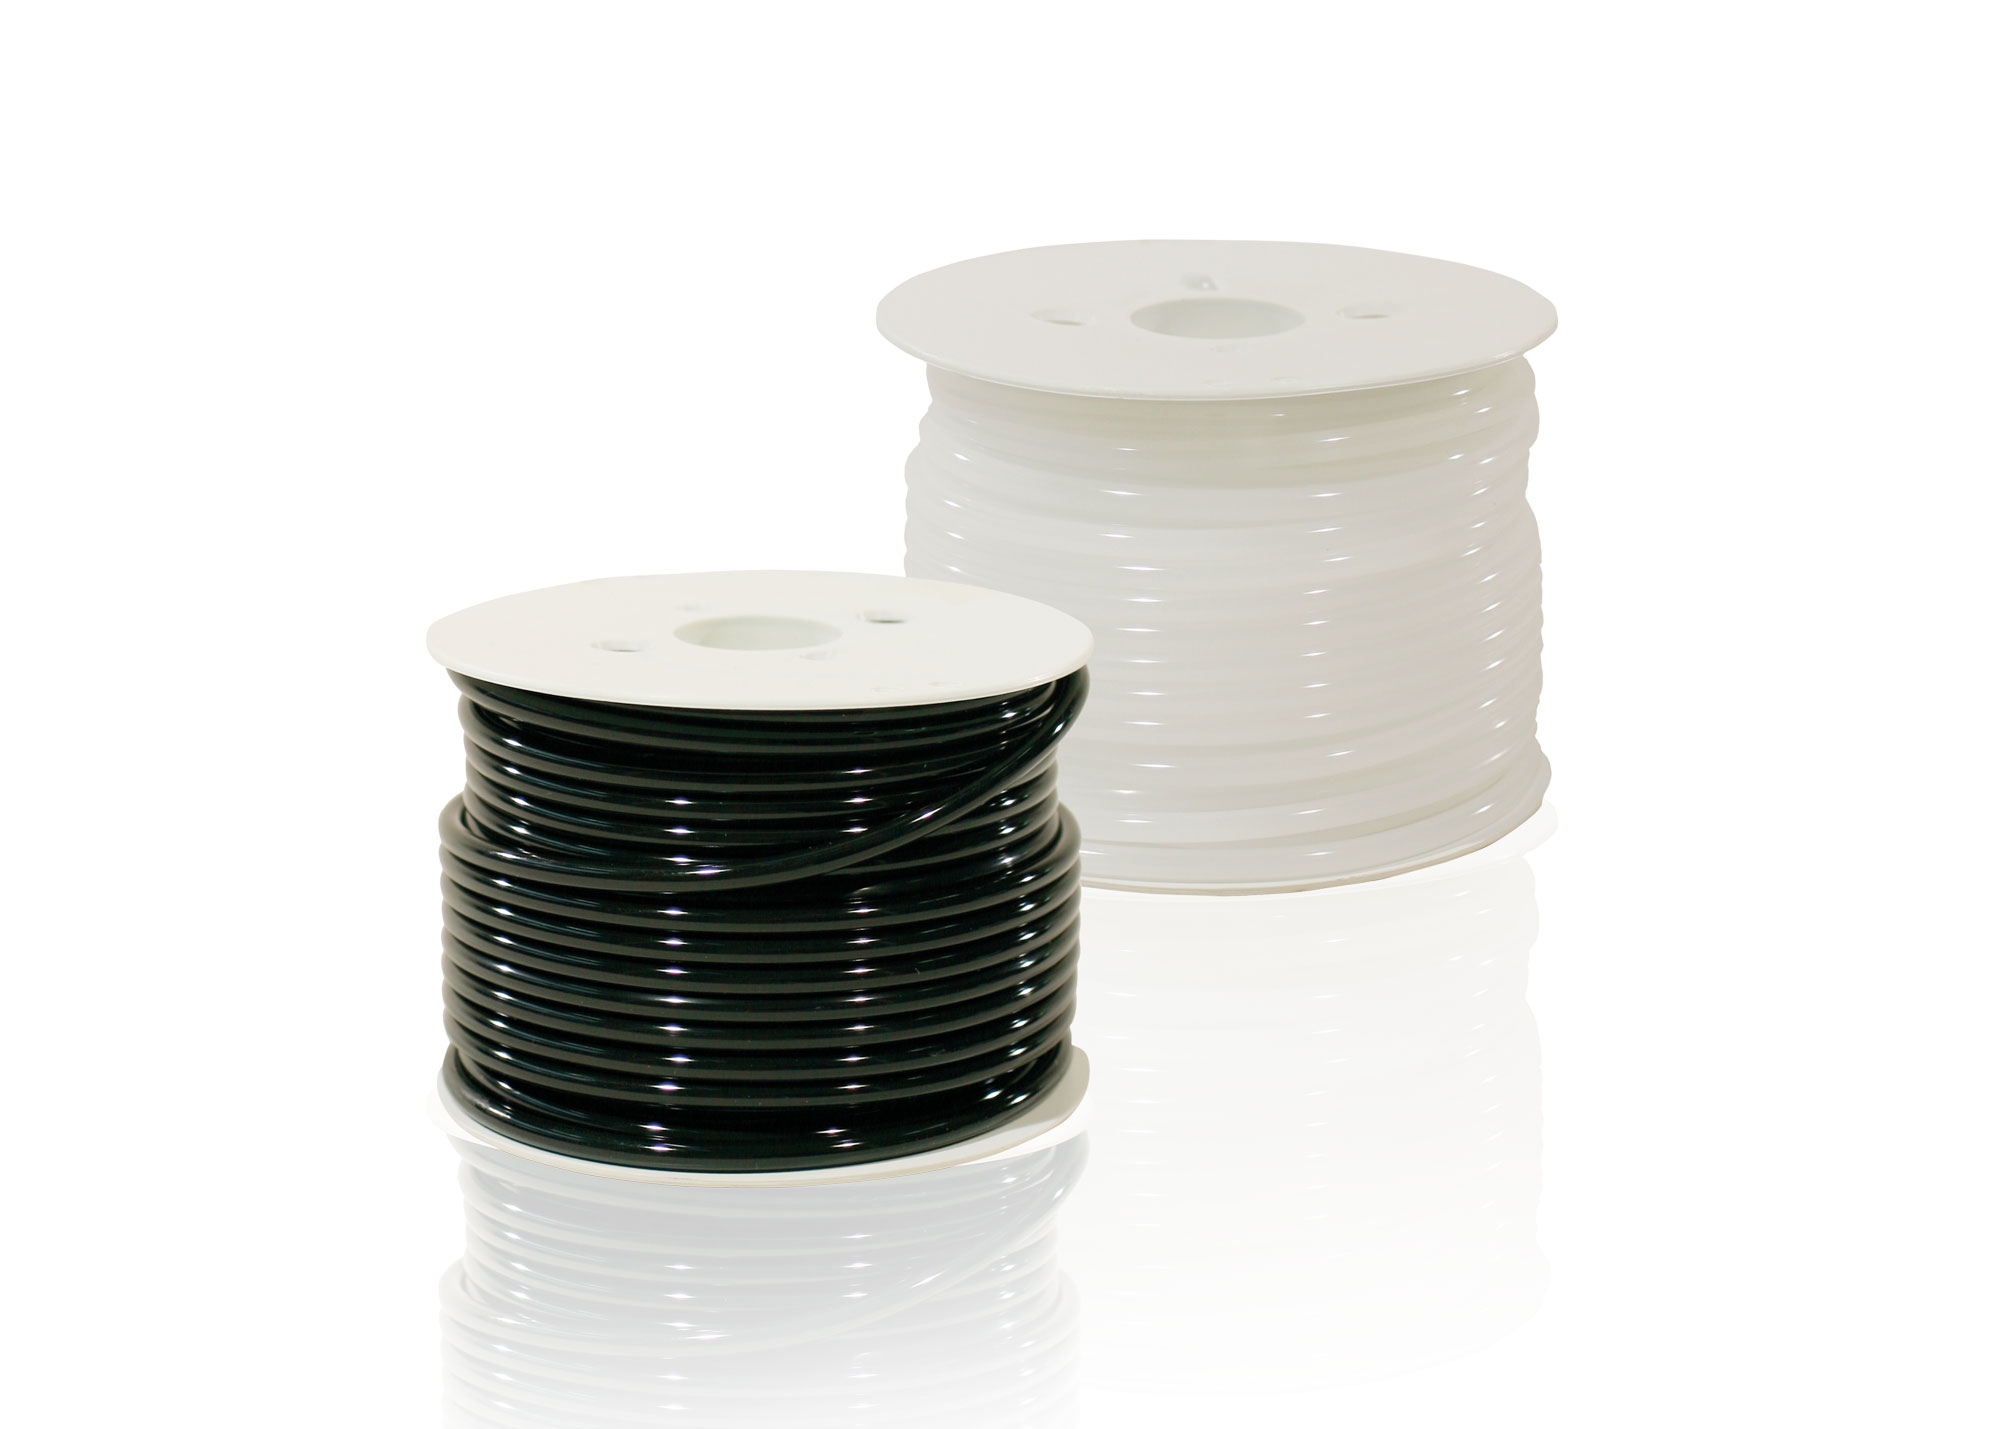
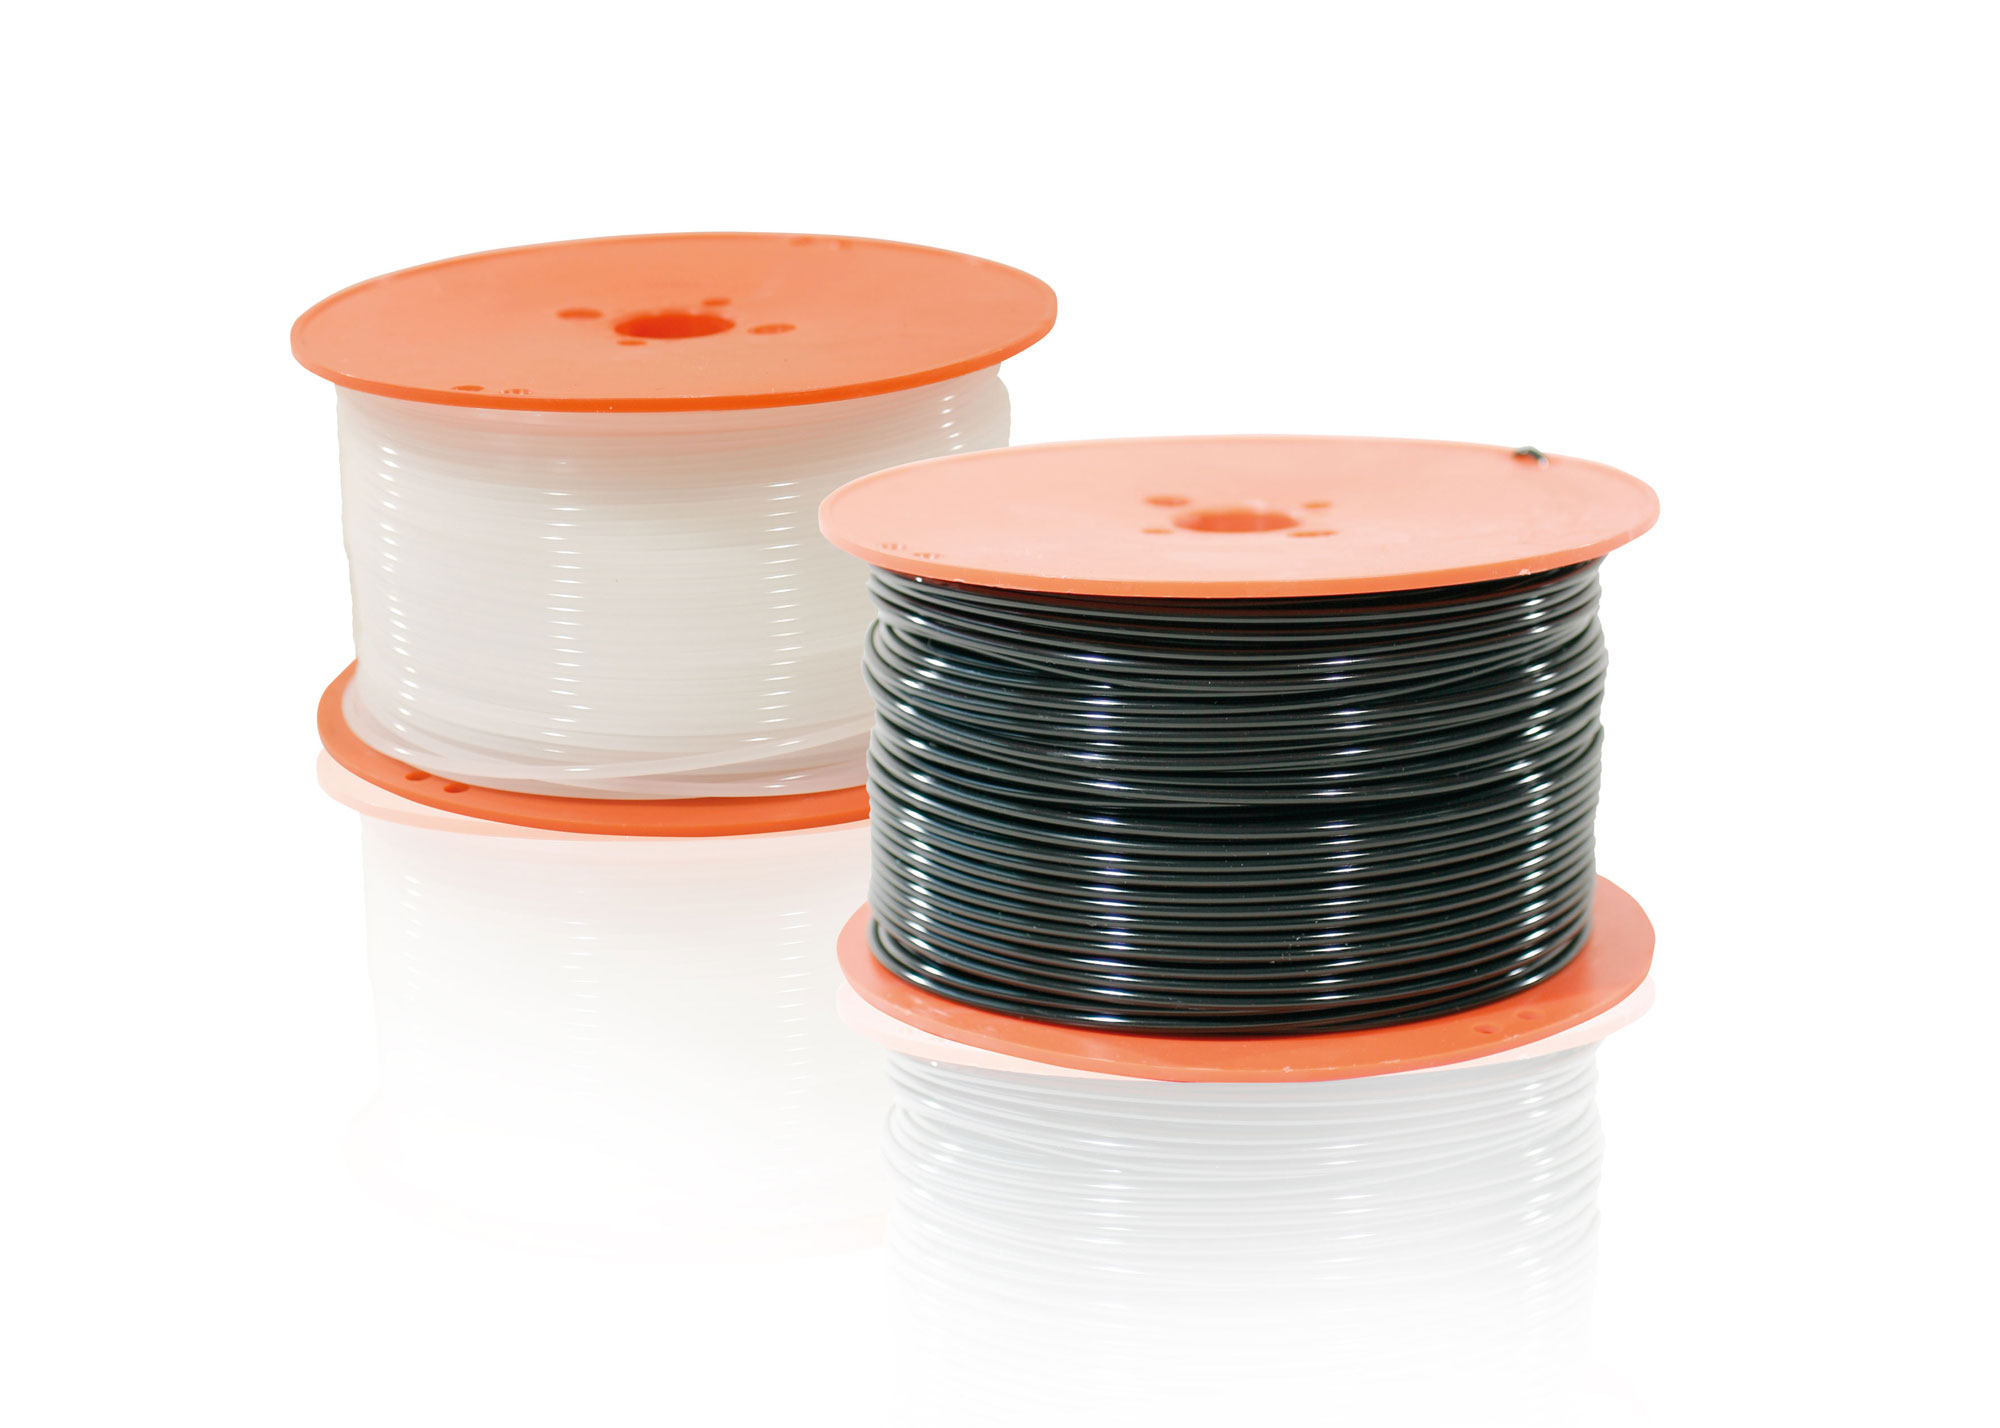
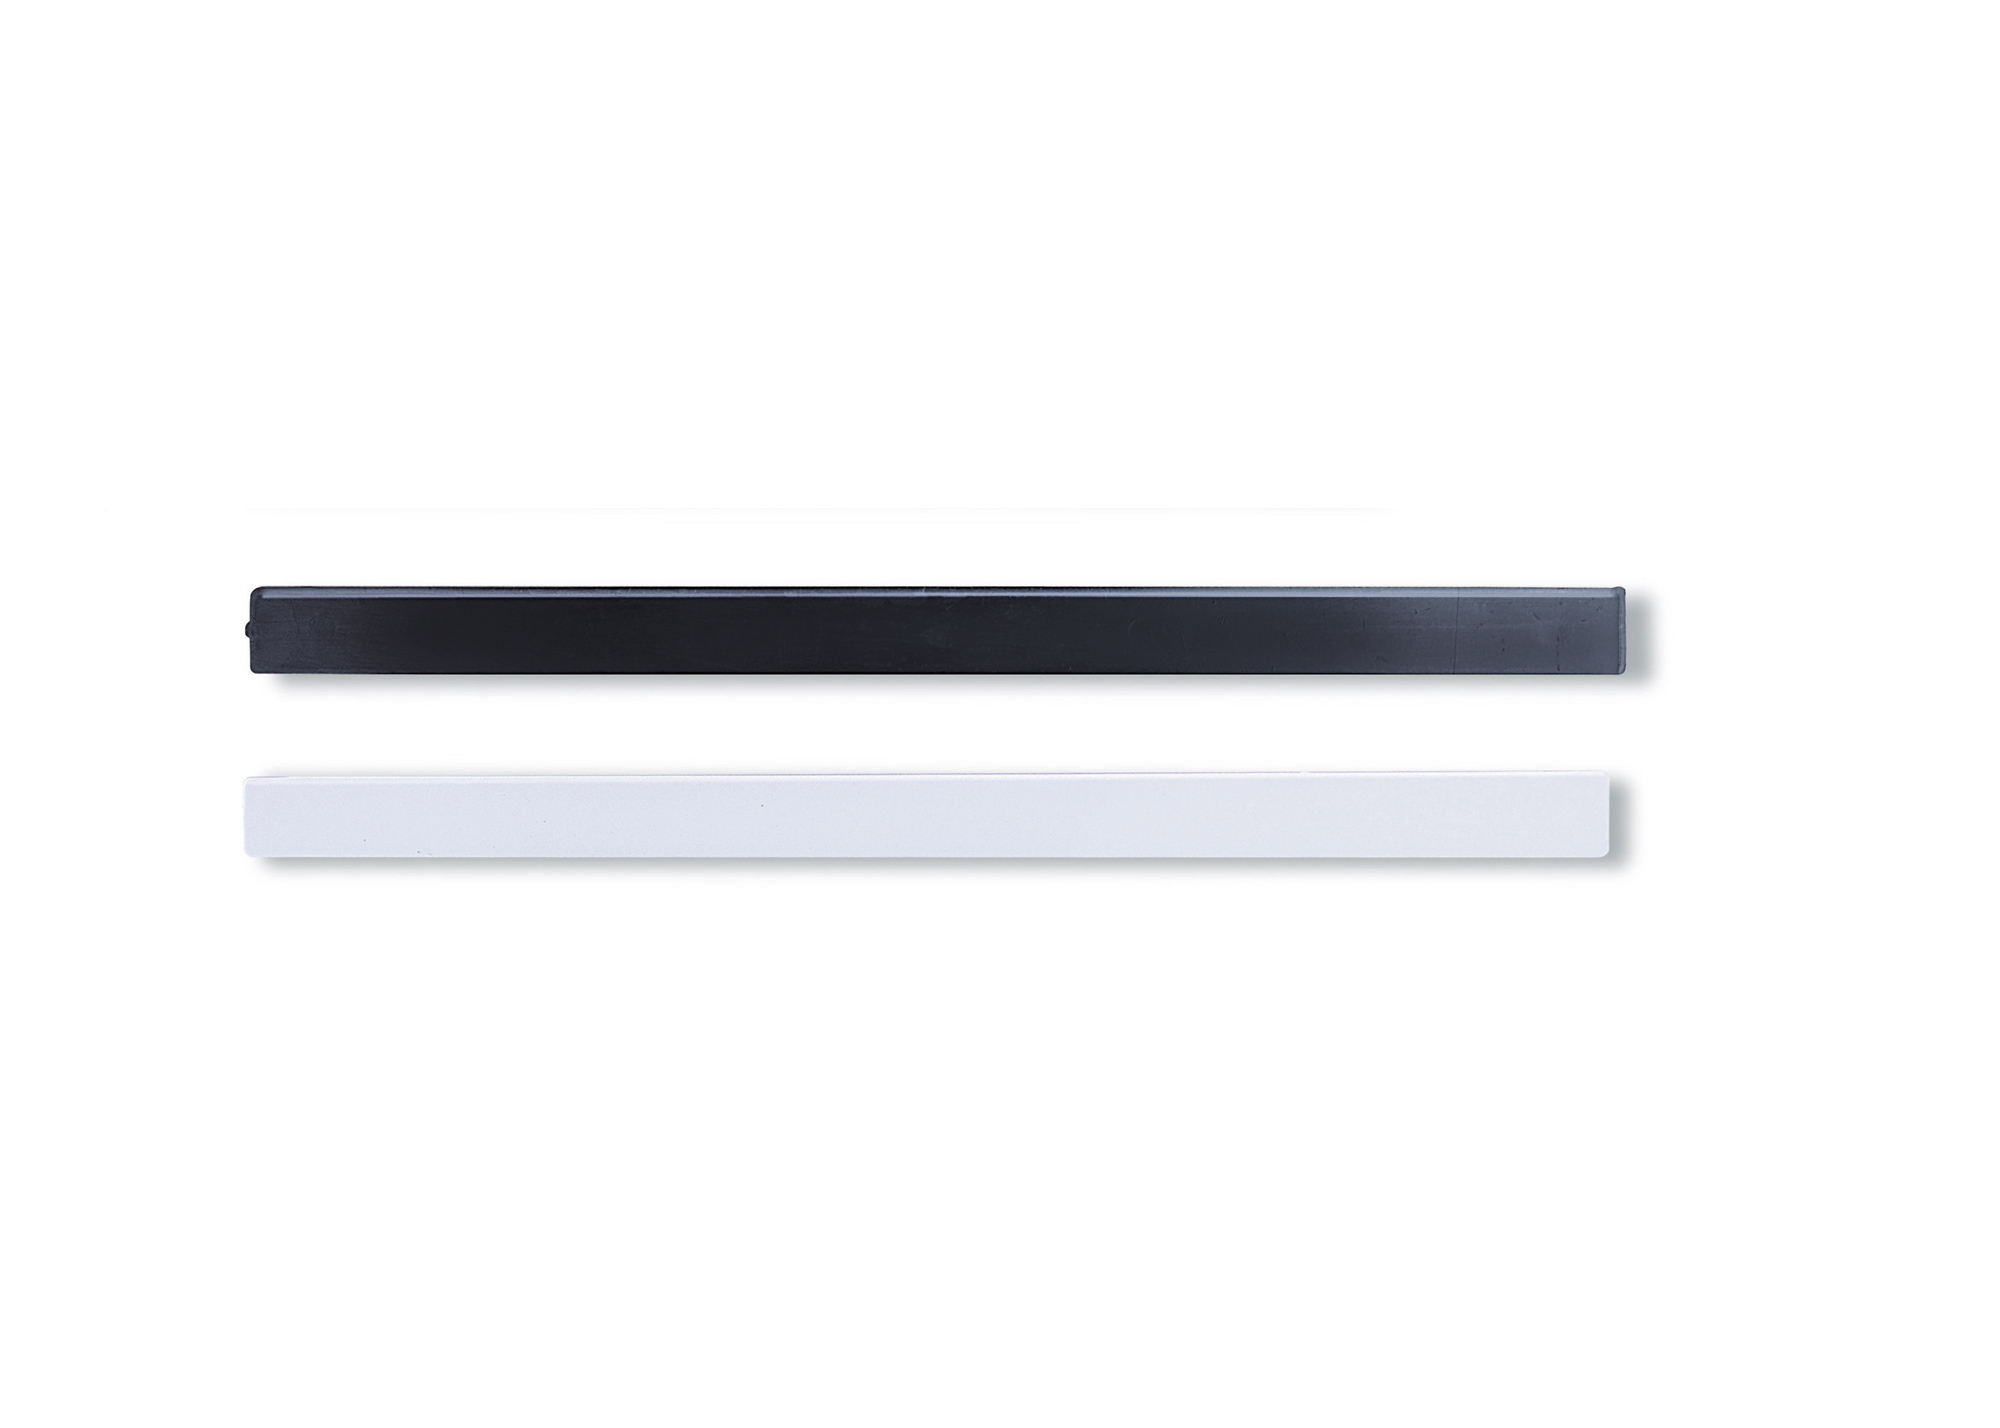
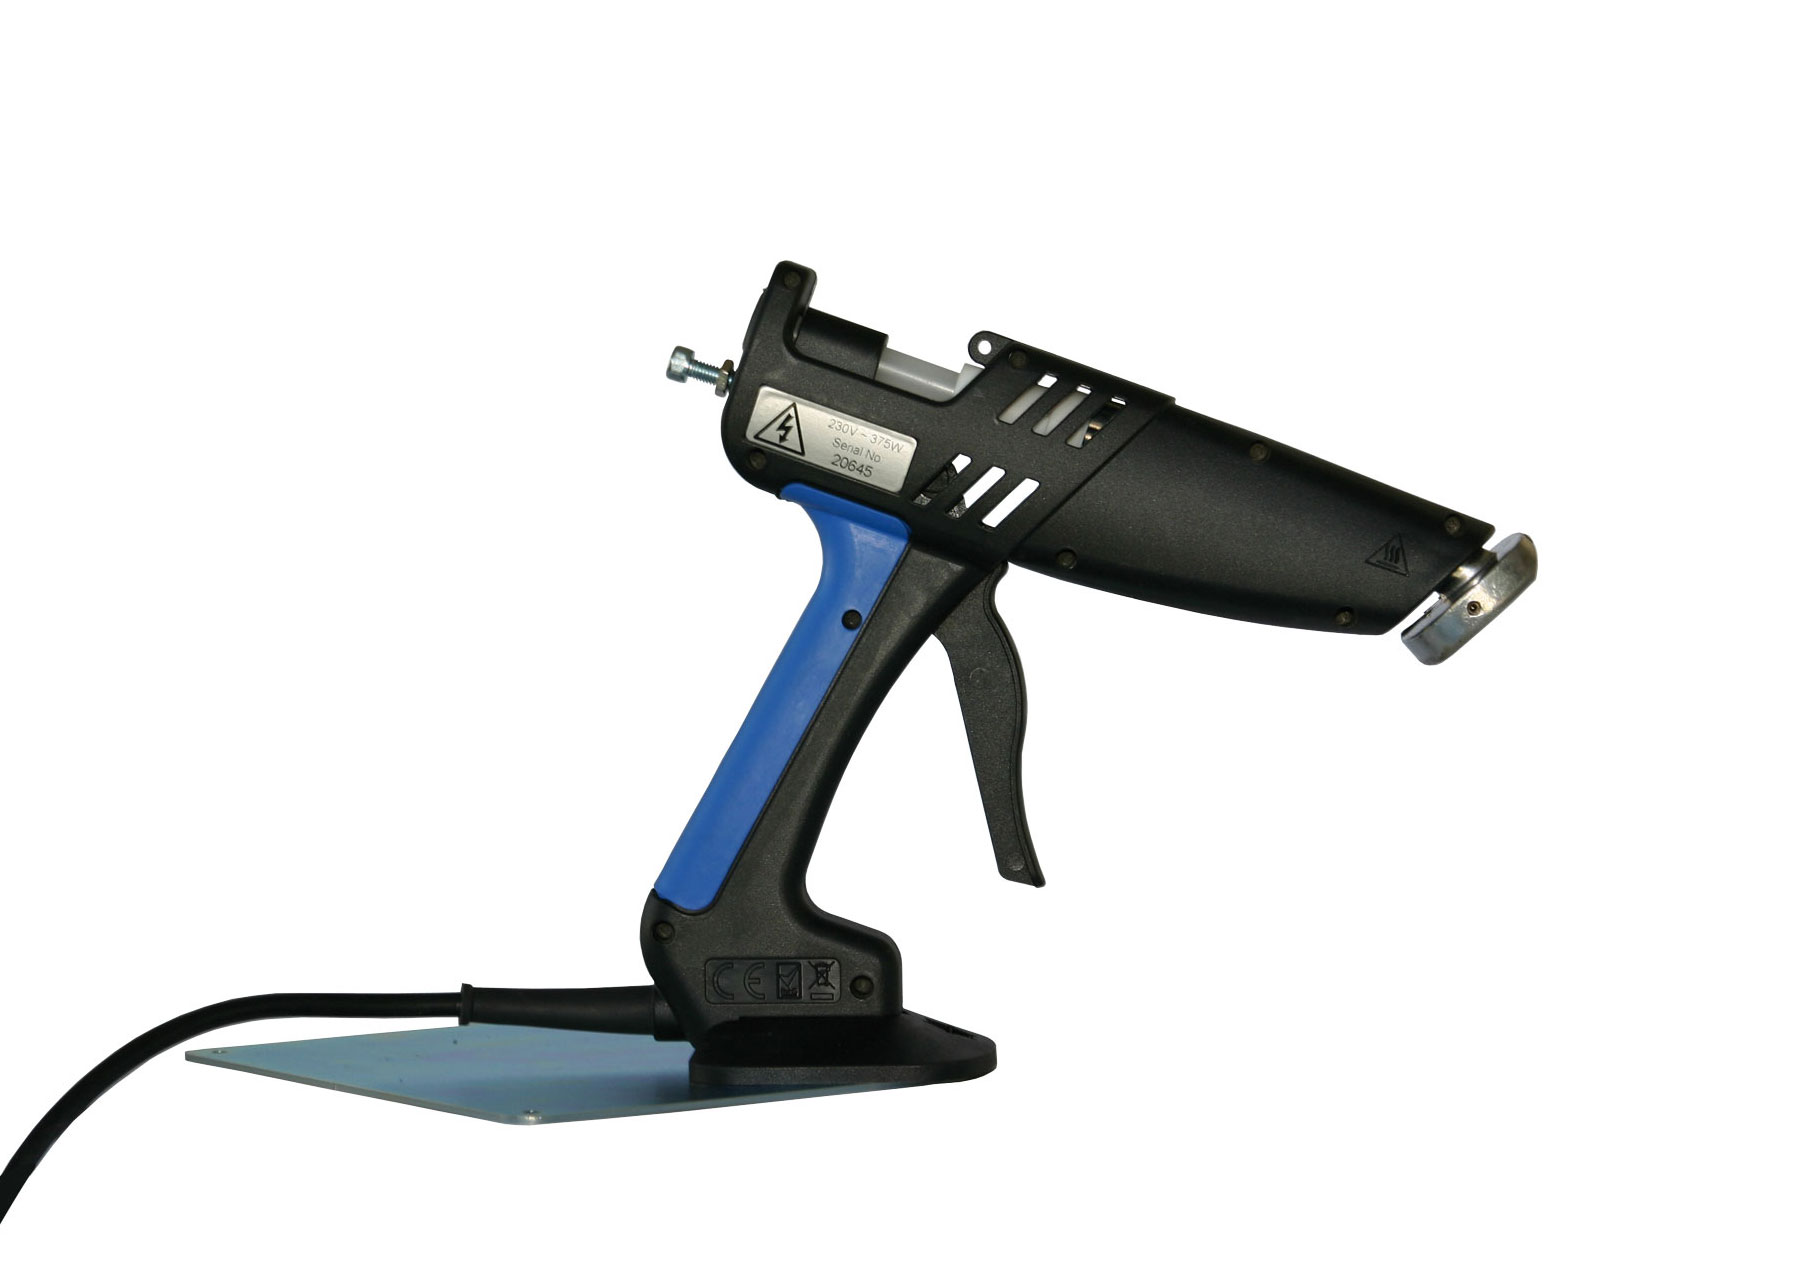
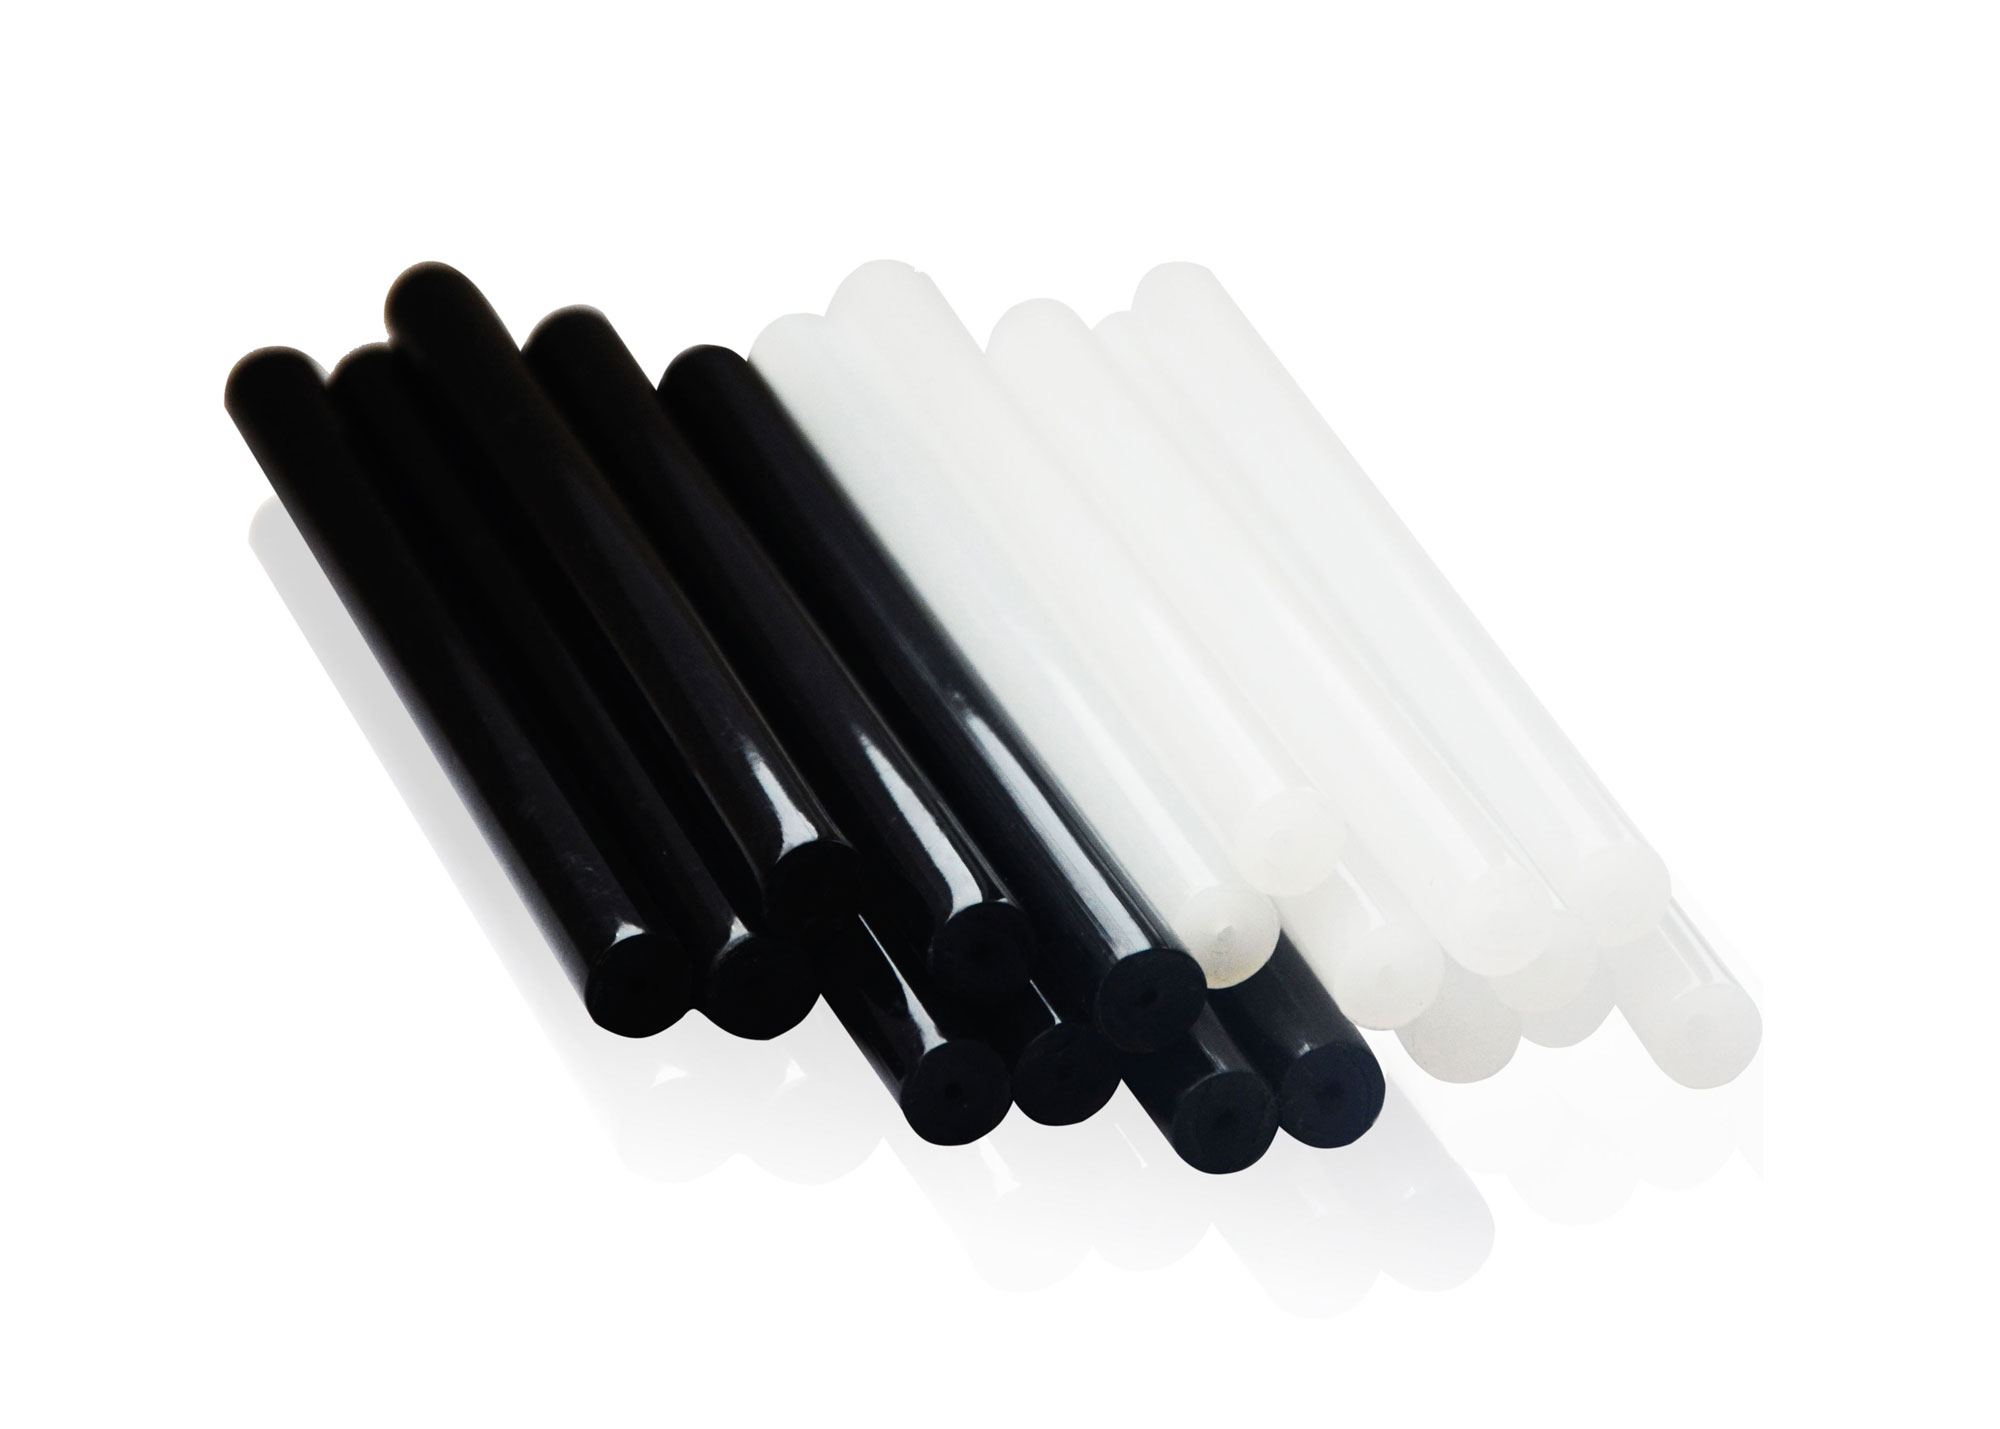
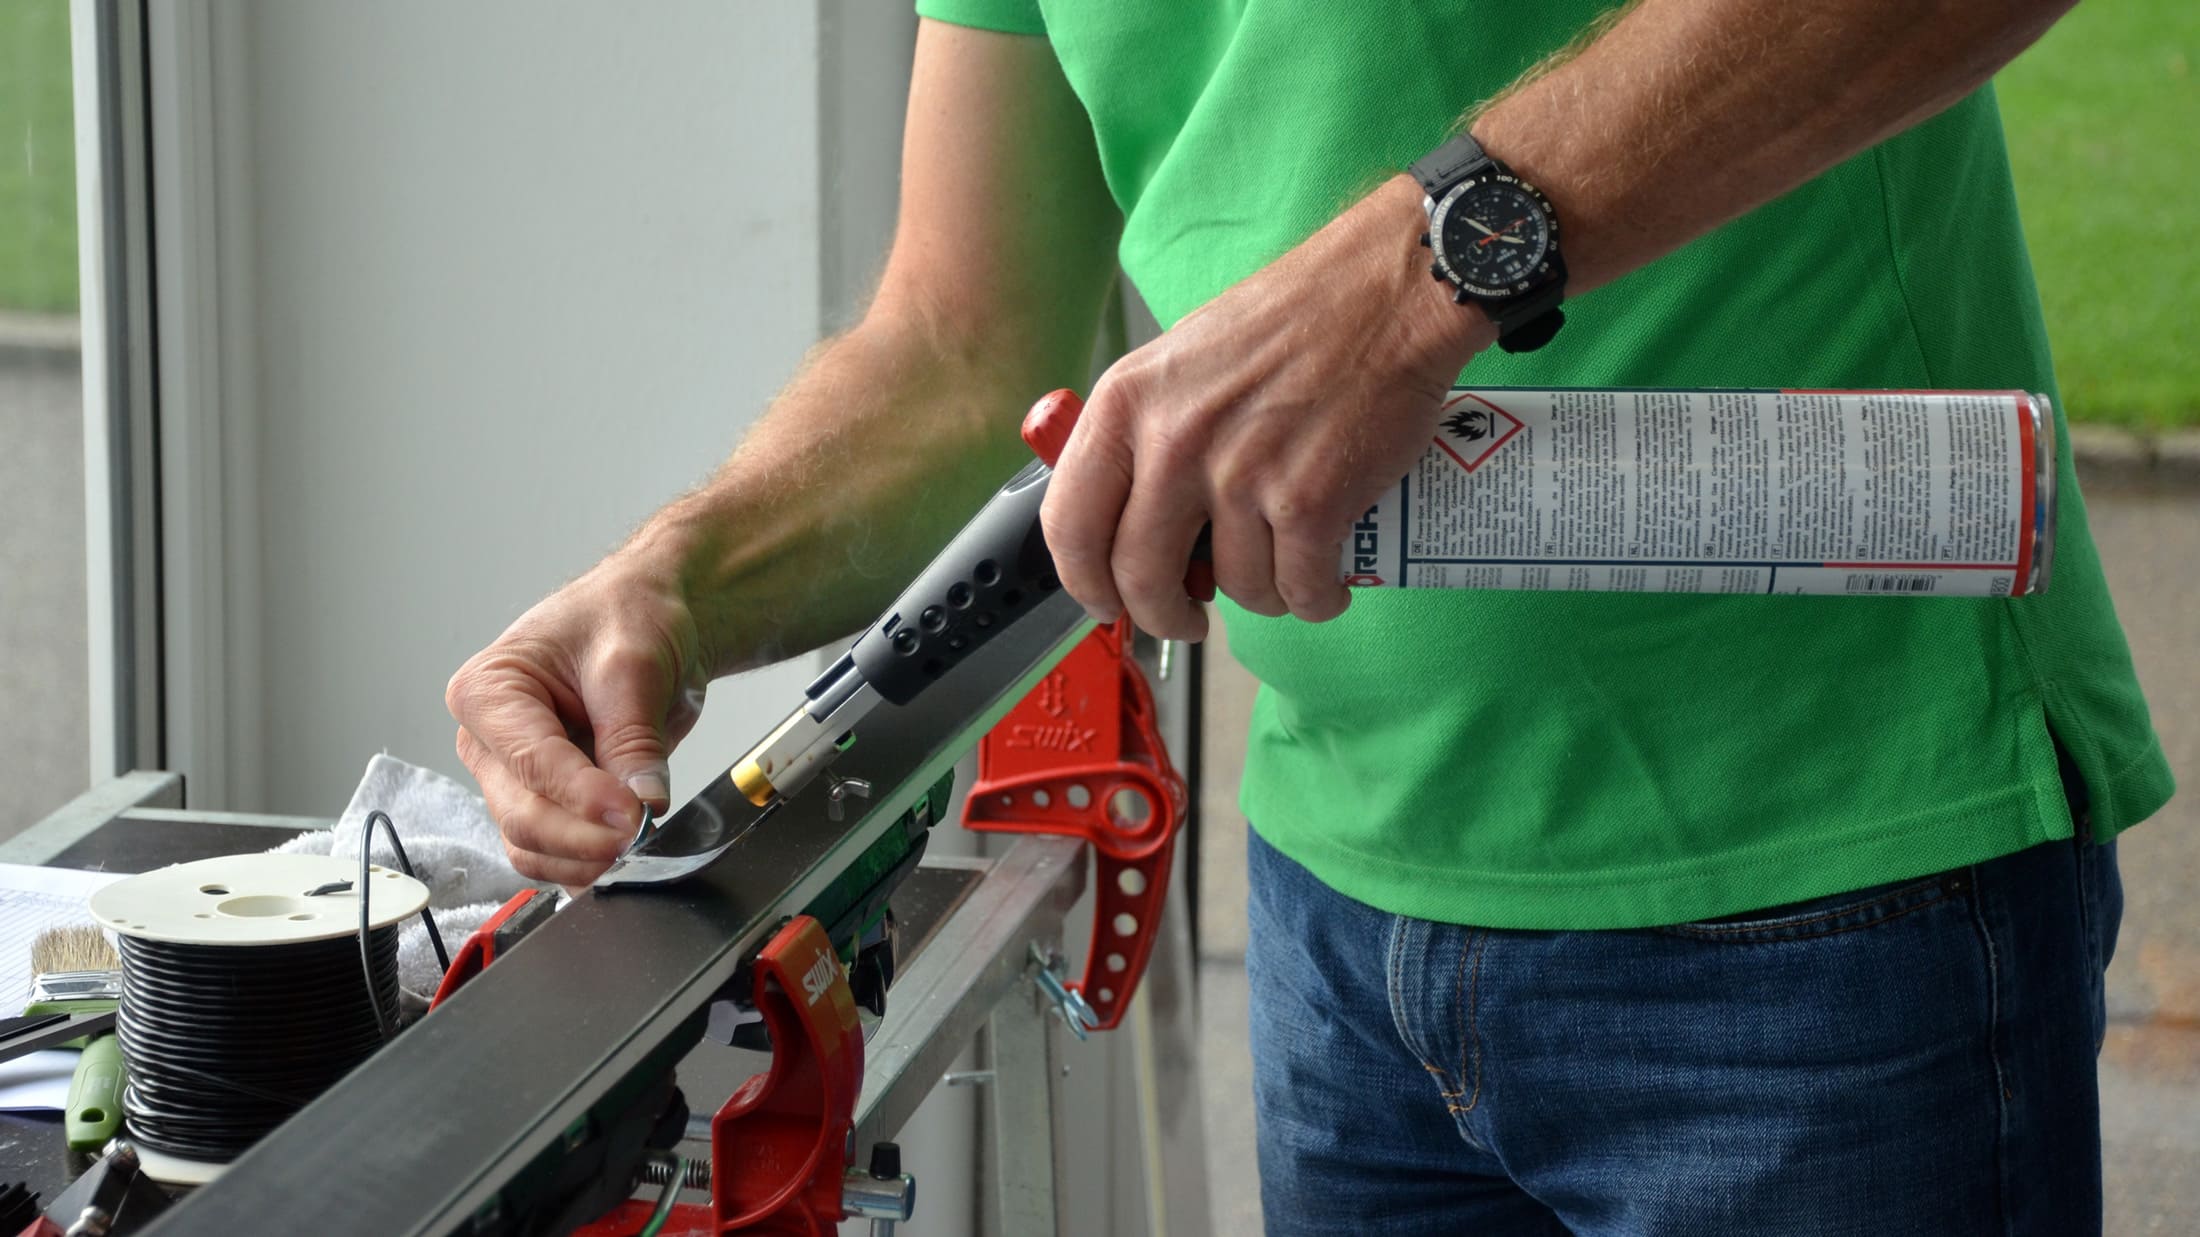
The base repair material can now be applied over this primer or also minor damage to other areas of the base. The hand repair devices Powerspot or Kandie are also suitable for this. Simply select the appropriate repair sticks. White repair material is ideal for light bases, black for dark ones.
Our tip: The melted, still plastic repair material tends to blister. If you press on the hot material with a thick steel scraper immediately after it has melted, it will be quenched and bubbles will be avoided. Apply repair material only as thinly as possible and as much as necessary. This saves a lot of time in the next step.
Also allow the repair material to harden for approx. 10-20 minutes after application and remove excess material with the planer or body file.
The Polymaster manual repair device with integrated suction or an automatic base melting machine such as the POLYMAT PRO offers more health protection when melting.
Base melting machine for badly damaged bases
Badly damaged bases can also be completely covered with the Reichmann POLYMAT base melting machine. This is also possible with the Kandie repair gun or the Powerspot gas burner, but takes more time. Depending on the number of service items, it must be considered whether an automatic melting machine can be used.
Stamping set for base repairs
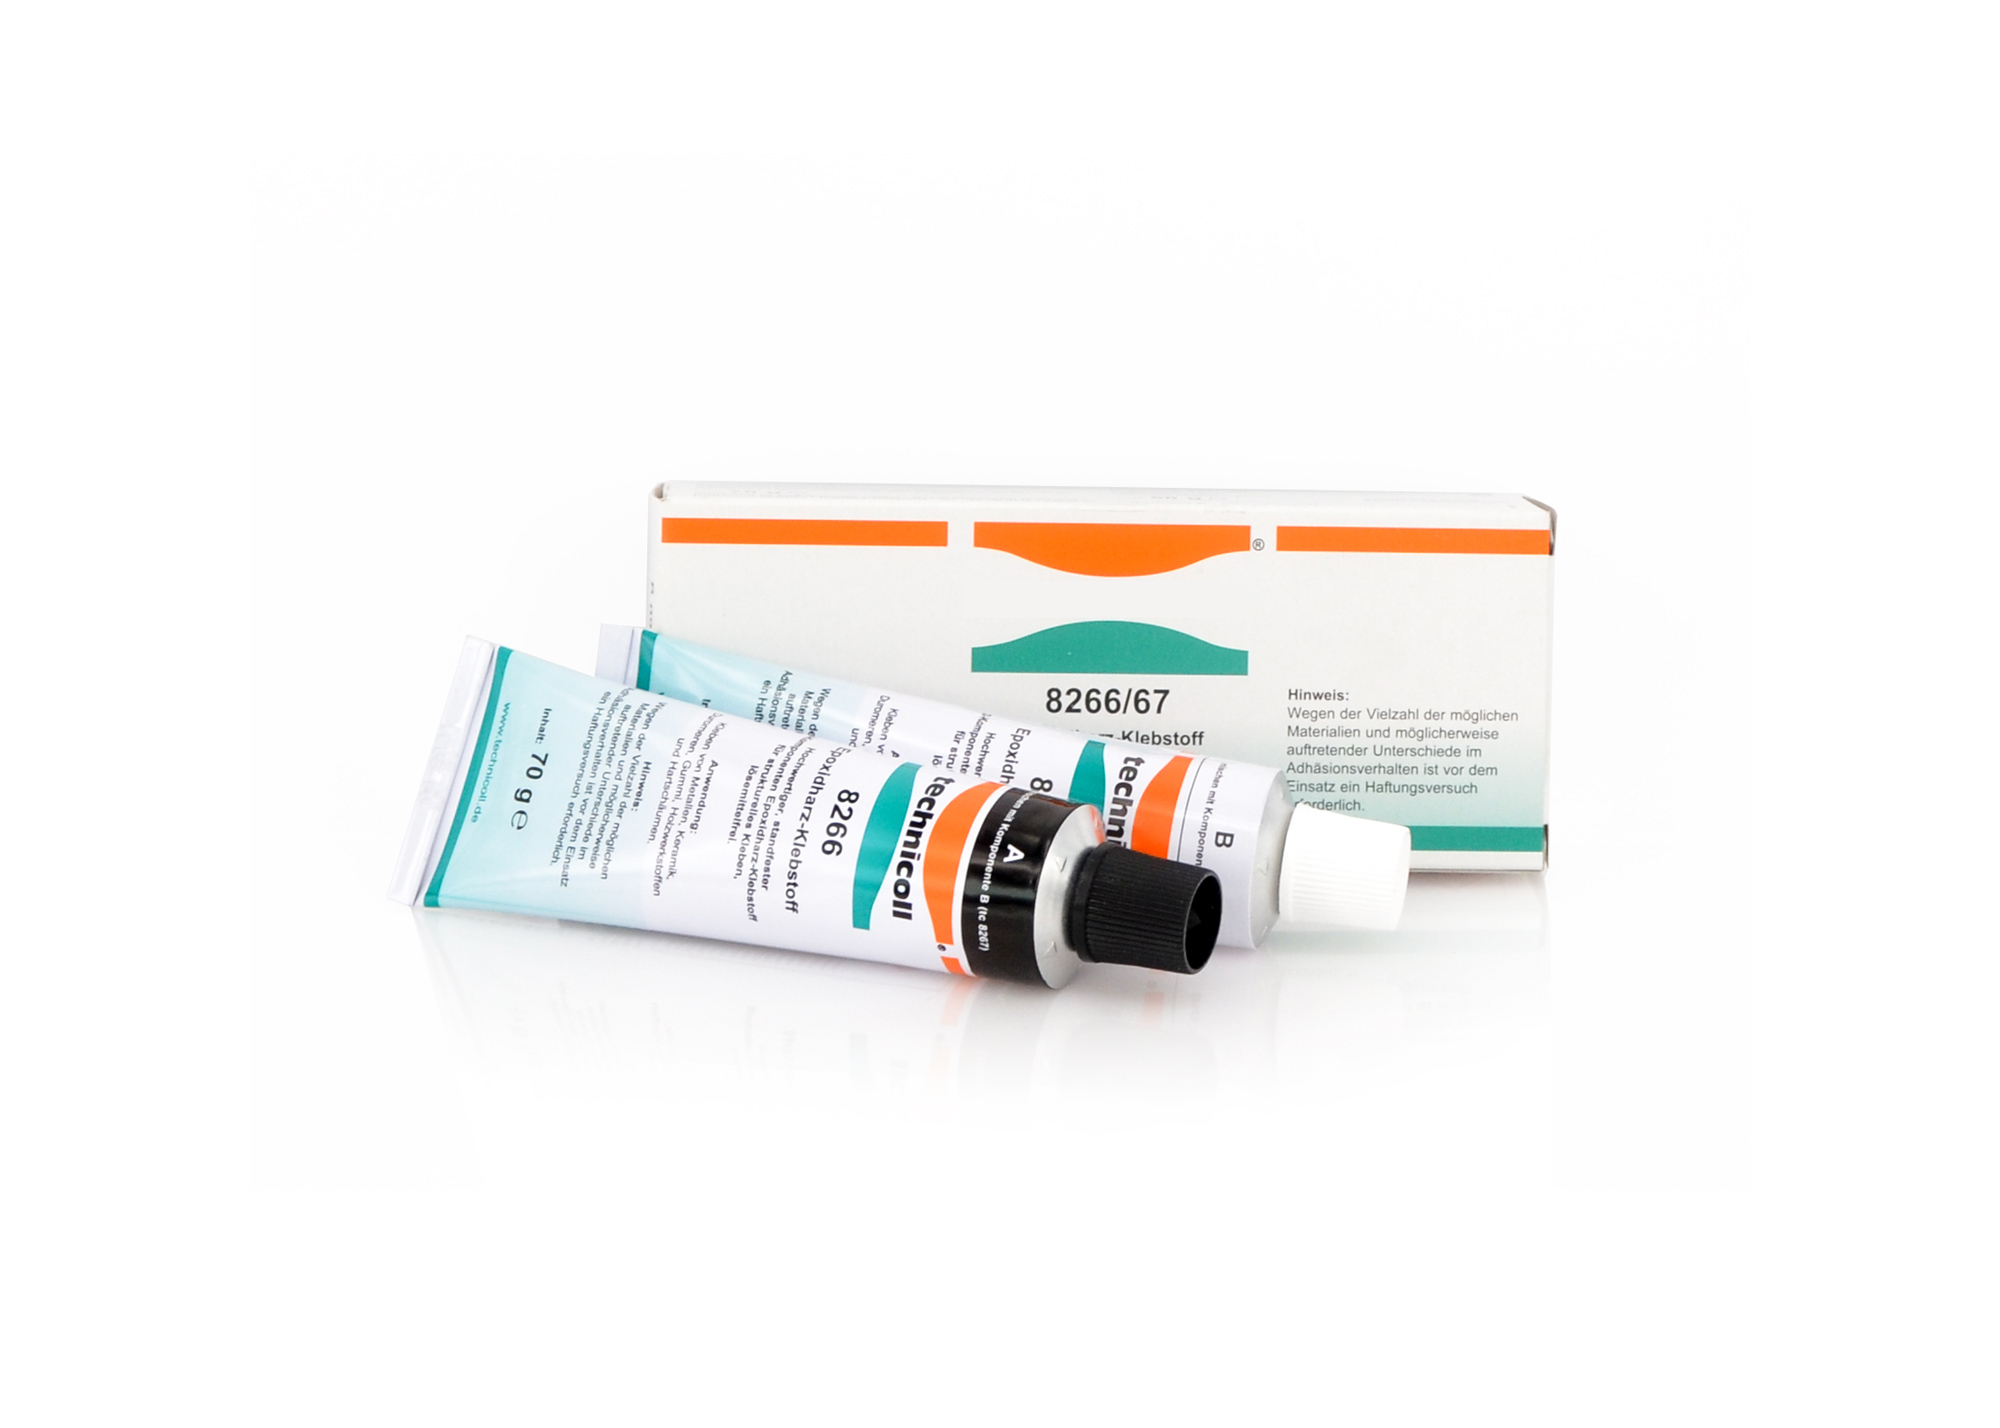
A ski repair punch set is another option for repairing severe base damage in the steel edge area or damage down to the ski core. In addition to the appropriate punch, you will need a covering strip and a 2-component adhesive. The advantage of this variant is that it takes a minimum of time due to faster curing of the adhesive with the clamped heating plate. You can easily replace the punching knives yourself.

